Some ask whether I make all the items I sell or if I just assemble them. Yes, I make the entire item – I do not just assemble. Typically I begin with a side of leather – although sometimes I have a whole hide or other cut, such as a back or shoulder. Most patterns are also my original design. I begin by drawing on paper then make the final patterns of poster board.
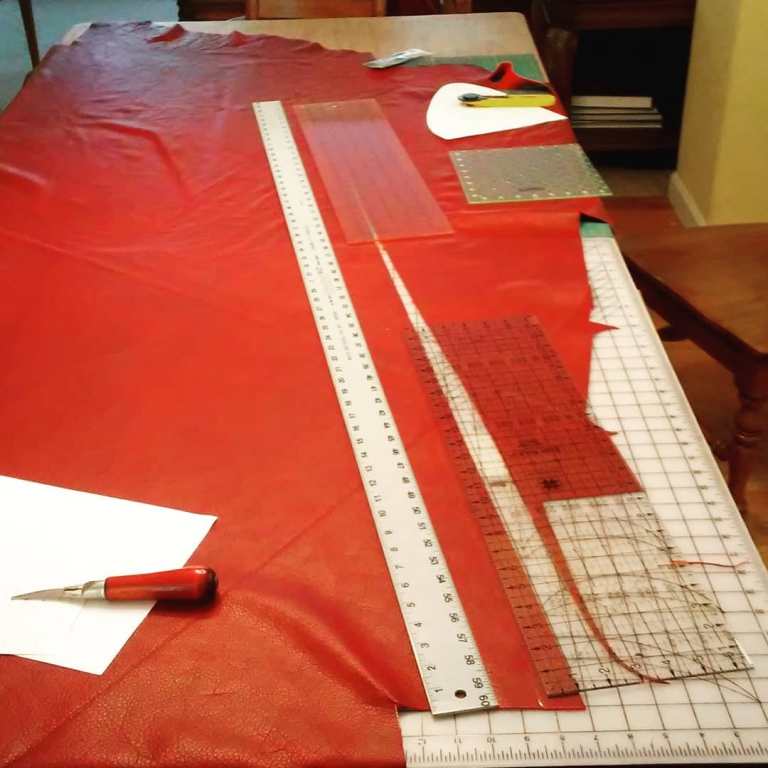
The first step is to layout the pattern pieces onto the leather to cut out. Here is a photo of cutting 60″ long straps.
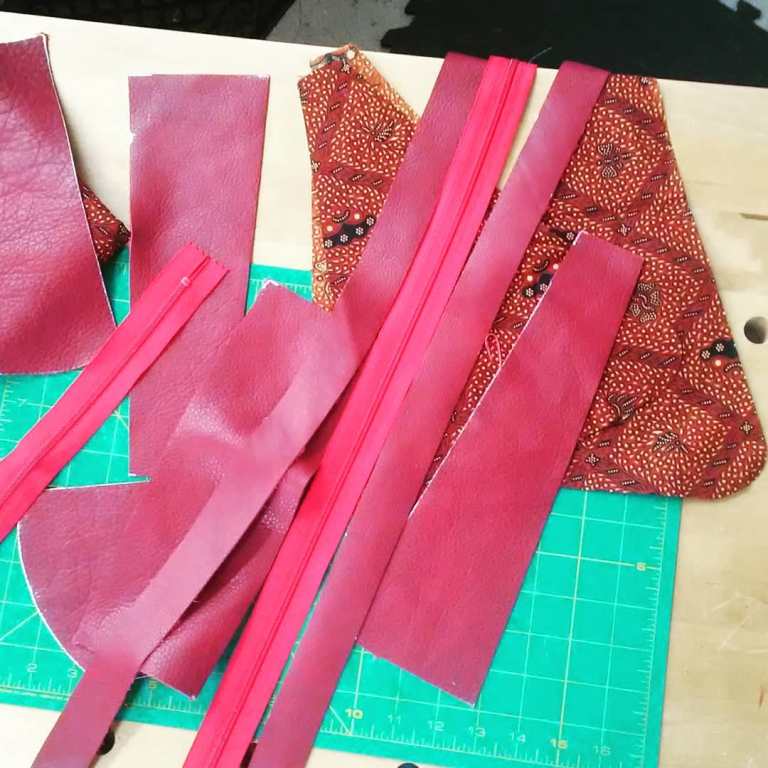 All the parts are cut out – both leather and lining. All the pieces, accessories and hardware, zippers, rings, clasps, are put into a project bag to keep everything together for the project and help me keep projects organized in my workshop. I typically have multiple projects on going at the same time.
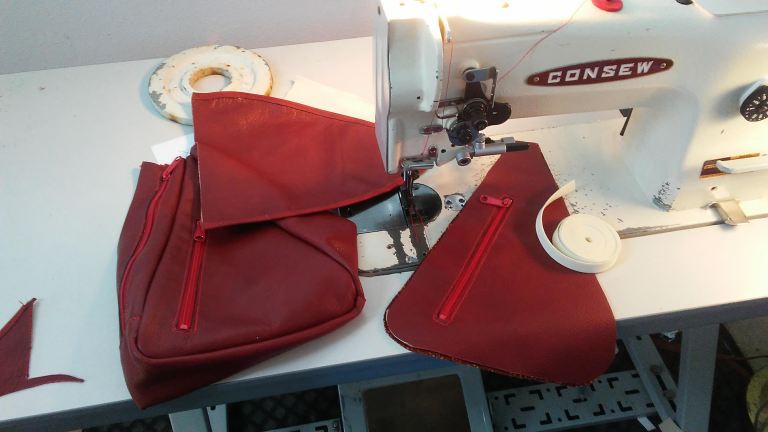 Sewing and assembly begins. The order depends on the project – but zippers are usually a first or early step.

 Bags are usually sewn inside out and then turned right side out after sewing is nearly complete.
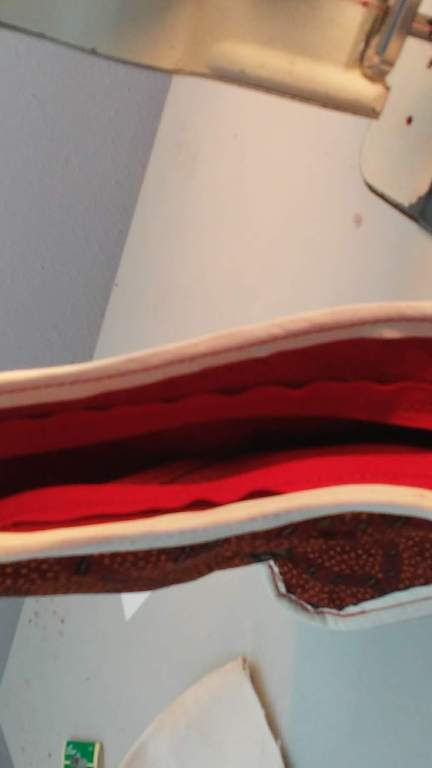
 After turning right side out it is time to add the rings, clasps and straps.
 When complete and sitting on my work bench it looks something like this.